
How to Use Shared Expenses in BestInterest
The Expenses tool keeps child-related costs, each parent’s share, reimbursements, receipts, and disputes in one ledger. BestInterest uses those entries to calculate the Agreed Balance between you and your coparent.
Open Expenses
Tap Expenses on your Home dashboard. Expenses is included on the dashboard by default. If you removed it while customizing Home, open More Tools > Expenses.
The screen has three tabs:
- Expenses shows transactions for the selected month.
- Balance shows the agreed amount one parent owes the other and activity across all months.
- History records changes to shared expense transactions.
Set your Default Split
Before adding an expense, open Settings > Expense Settings and tap Default Split. Set the percentage for the Parent adding expense and the Other parent, then tap Save.
The default is applied from the perspective of whoever adds each new expense. For example, a 40% / 60% default means the parent entering an expense is assigned 40% and the other parent 60%. You can change the split while entering an individual expense without changing the shared default.
Add an expense
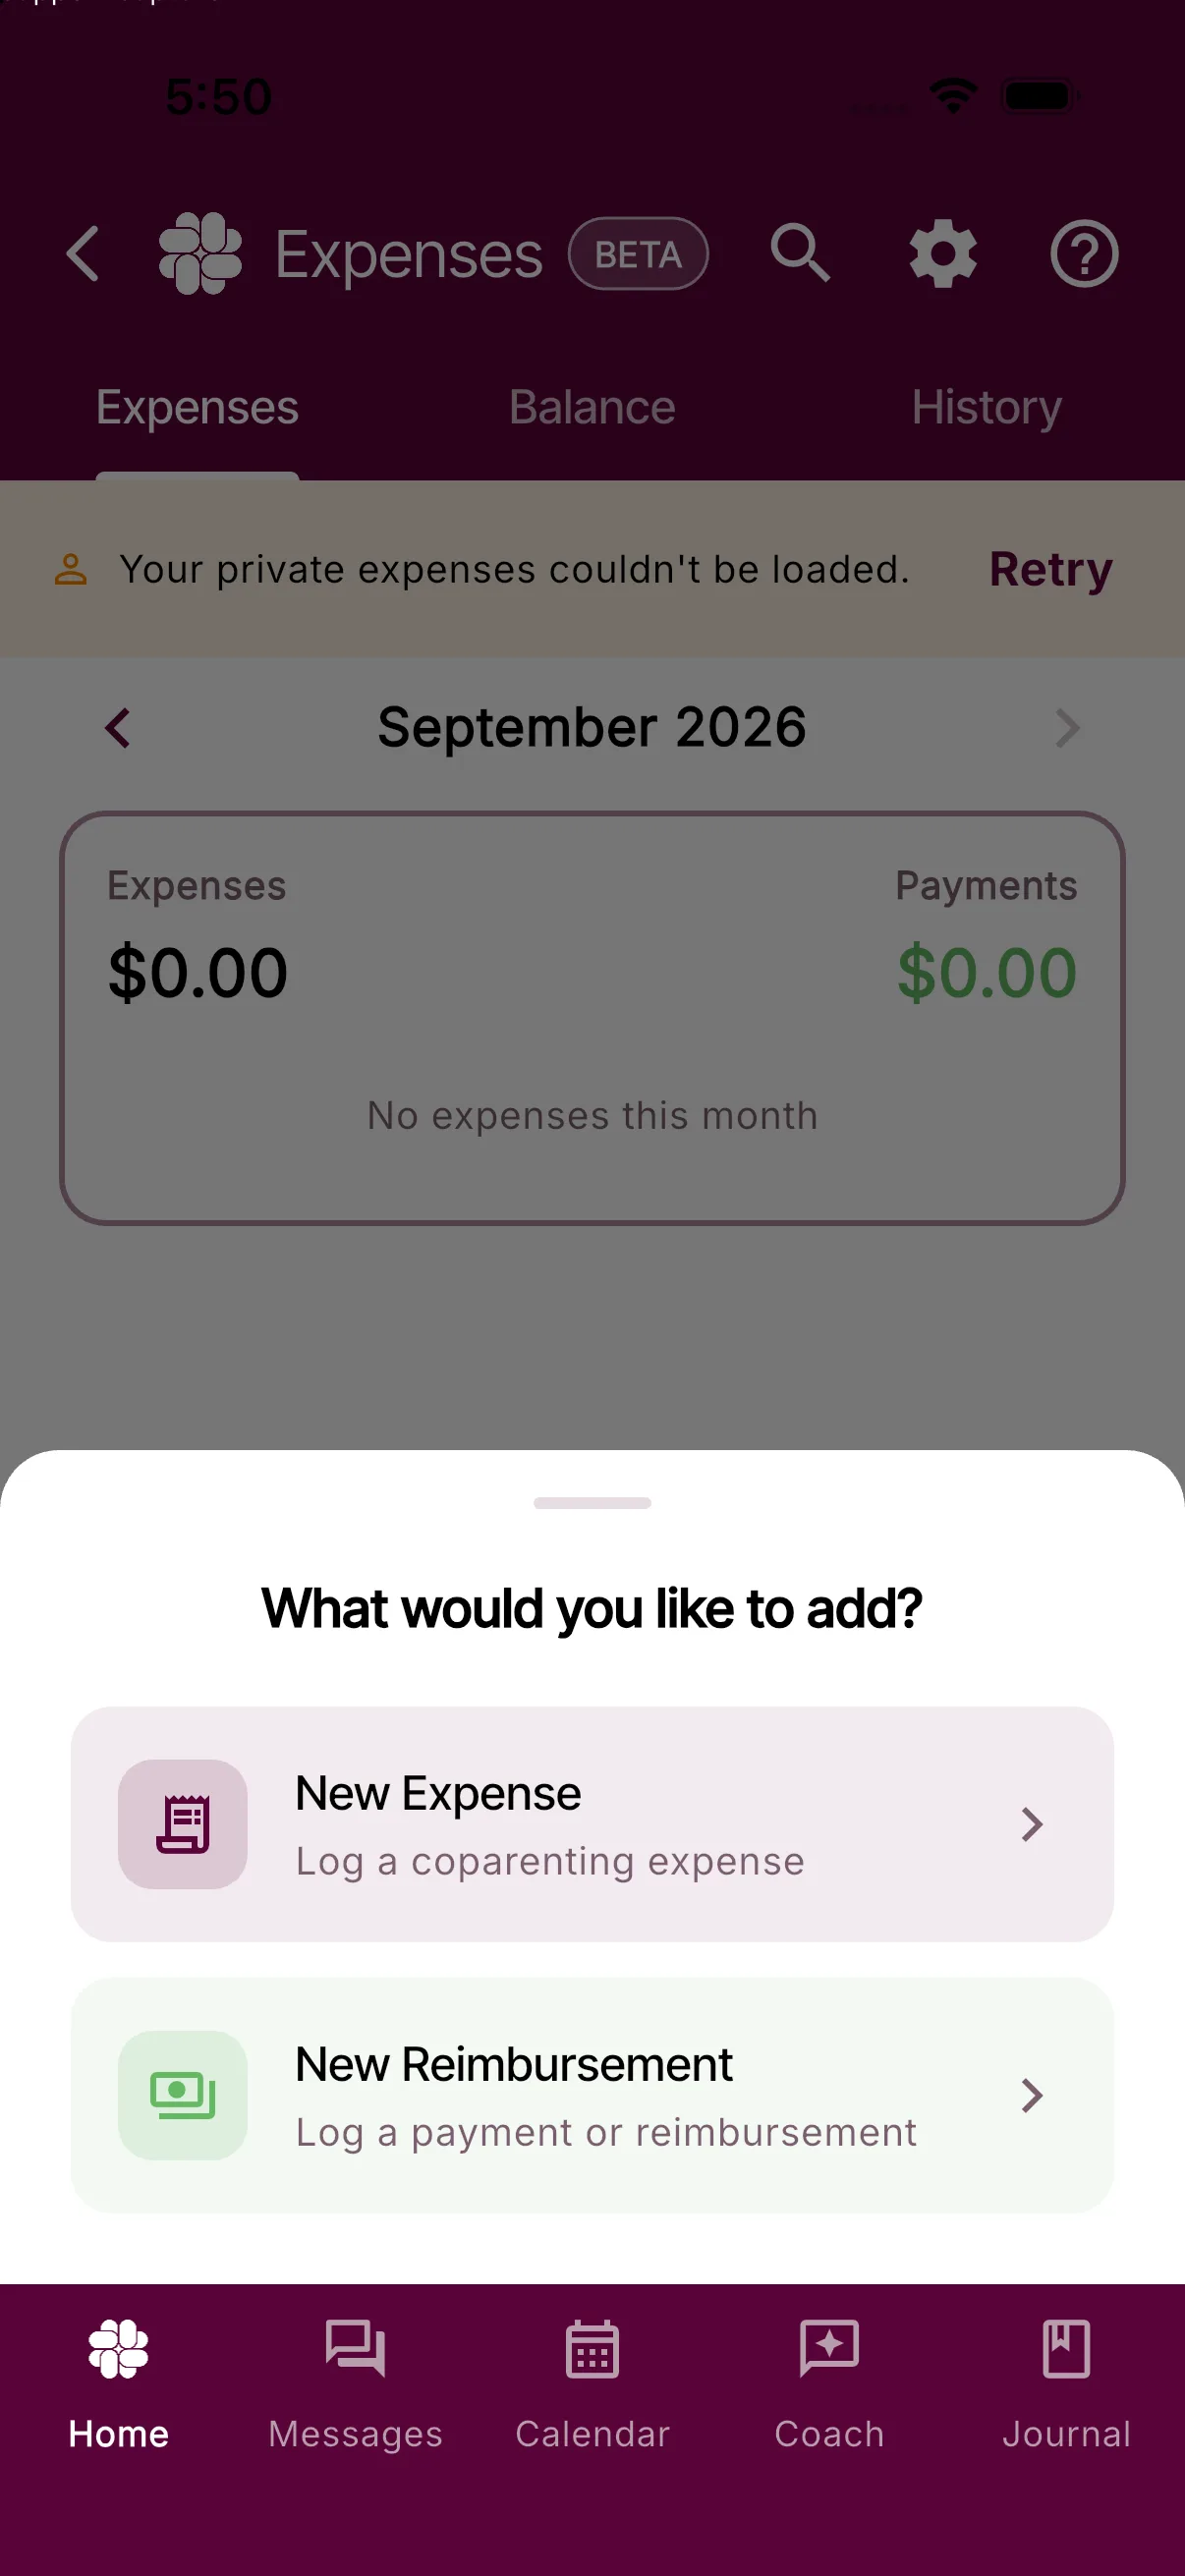
- On the Expenses or Balance tab, tap the + button. Its tooltip reads Add Expense.
- Choose New Expense.
- Enter What is this for?, Total Amount Paid, a Category, and the date.
- Choose who paid and review the split. If your family has more than one child, you can choose which children the expense concerns.
- To add proof of purchase, turn on Attach Receipt. Tap Scan a Receipt to use the camera or Choose from Gallery to select an image.
- Tap Save Expense, or Save Expense & Upload Receipt when a receipt is selected.
An expense can hold up to five receipt files. Receipt uploads require Connect, Protect, or Protect Plus. You can open an expense you created later and tap Add Receipt until all five slots are used.
For scan, camera, gallery, readability, or partial-upload problems, see Receipt Scanning and Upload Troubleshooting.
Connect, Protect, and Protect Plus can also repeat a shared expense weekly, biweekly, or monthly. See Create and Manage Recurring Expenses.
Request payment
When your coparent owes you money, open the Balance tab and tap Request Payment. BestInterest opens the message composer with a neutral draft such as “Can you send $25.00 for shared expenses?” Review the message and send it when ready.
Request Payment sends a message; it does not transfer money or automatically mark the balance as paid. After a payment happens outside BestInterest, record it as a reimbursement.
Log a reimbursement
Tap +, then choose New Reimbursement. Enter the amount and date, select a Method such as PayPal, Venmo, check, cash, Zelle, transfer, or other, and choose the parent under Paid By. Tap Save Reimbursement.
You can also tap Log Reimbursement on the Balance tab. BestInterest fills in the current balance and the expected payer; review those values before saving. The reimbursement becomes a transaction in the ledger and updates the agreed balance. It records a payment that already occurred and does not move money between accounts.
Dispute a transaction
If your coparent added an expense or reimbursement that needs discussion, open the transaction and tap Dispute Transaction. Enter the required reason and tap Dispute.
The transaction stays in the ledger, exports, and reports, but its amount is left out of the Agreed Balance while disputed. The parent who disputed it can reopen the transaction and tap Resolve Dispute to return it to the balance. Read How disputed transactions work for more detail.
Export expense records
- Open More Tools > Reports > Expenses.
- Choose Court Report for a PDF or Data Export for a CSV spreadsheet.
- Set the date range and choose whether to include private expenses.
- For a PDF, you can also turn on Include Activity Log, Include Receipts, and Include Certificate of Authenticity.
- Tap Generate Report (PDF) or Generate Export (CSV).
CSV expense export is available on every plan. PDF reports and the Certificate of Authenticity require Connect or higher. Connect includes up to 10 report requests per month; Protect and Protect Plus include unlimited reports.
Generated PDFs appear under Report History when ready. A Certificate of Authenticity provides a Report ID and verification PIN so a recipient can compare the PDF with the server-held original. It does not determine whether a court, mediator, evaluator, or other recipient will accept the report; ask the recipient what format they require.
For a comparison of every report area, see Reports and Exports Overview.
Was this helpful?
Still need help?
Contact Support